Canola transformation research note
Growth conditions
Humidity:50-60%; temperature: 22 °C; light cycle: 16h light, 8h dark; light condition: Regular
Steps
1. Seed sterilization (1 day)
Sterilize seeds with 30% liquid bleach two times, each time for 15 minutes and 10 minutes receptively. Then, wash the seeds with ddH2O three times, each time for 10 minutes. These sterilized seeds can use them for germination and could be saved for a few weeks.
2. Seed germination (10 days)
Prepare seed germination media.
Plate 10 sterilized seeds on each germination media. Stratify seeds in the dark (cover the germination plates with aluminium foil) at 4 °C for 3 days. Generally, one construct for 4 plates.
Expose seeds to light at 22 °C for 6 hours, cover with foil and place these plates in a growth chamber and allow the seedlings to grow for 7 days.
3. Cut hypocotyls for co-cultivation (2 days)
Prepare co-cultivation (CC) media.
Cut hypocotyls from the germinated seedlings into 2-3 cm segments and place them on CC media (~20-25 per plate) for 2 days in a growth chamber.
4. Agrobacterium infection (3 days)
Prepare LB media and infection media.
Inoculate agrobacteria to 50 mL LB media in the 250 mL flask and grow overnight.
Centrifuge the 50 mL agrobacterium culture in a 50 mL falcon tube and collect the pellet. Resuspend the pellet in the infection media and vortex well to reach an OD600 value between 0.4 and 0.6.
Use the deeper plate and pour 50 mL infection media into the deeper plate, add 25 uL Acetosyringone (100mM) to the plate and mix well.
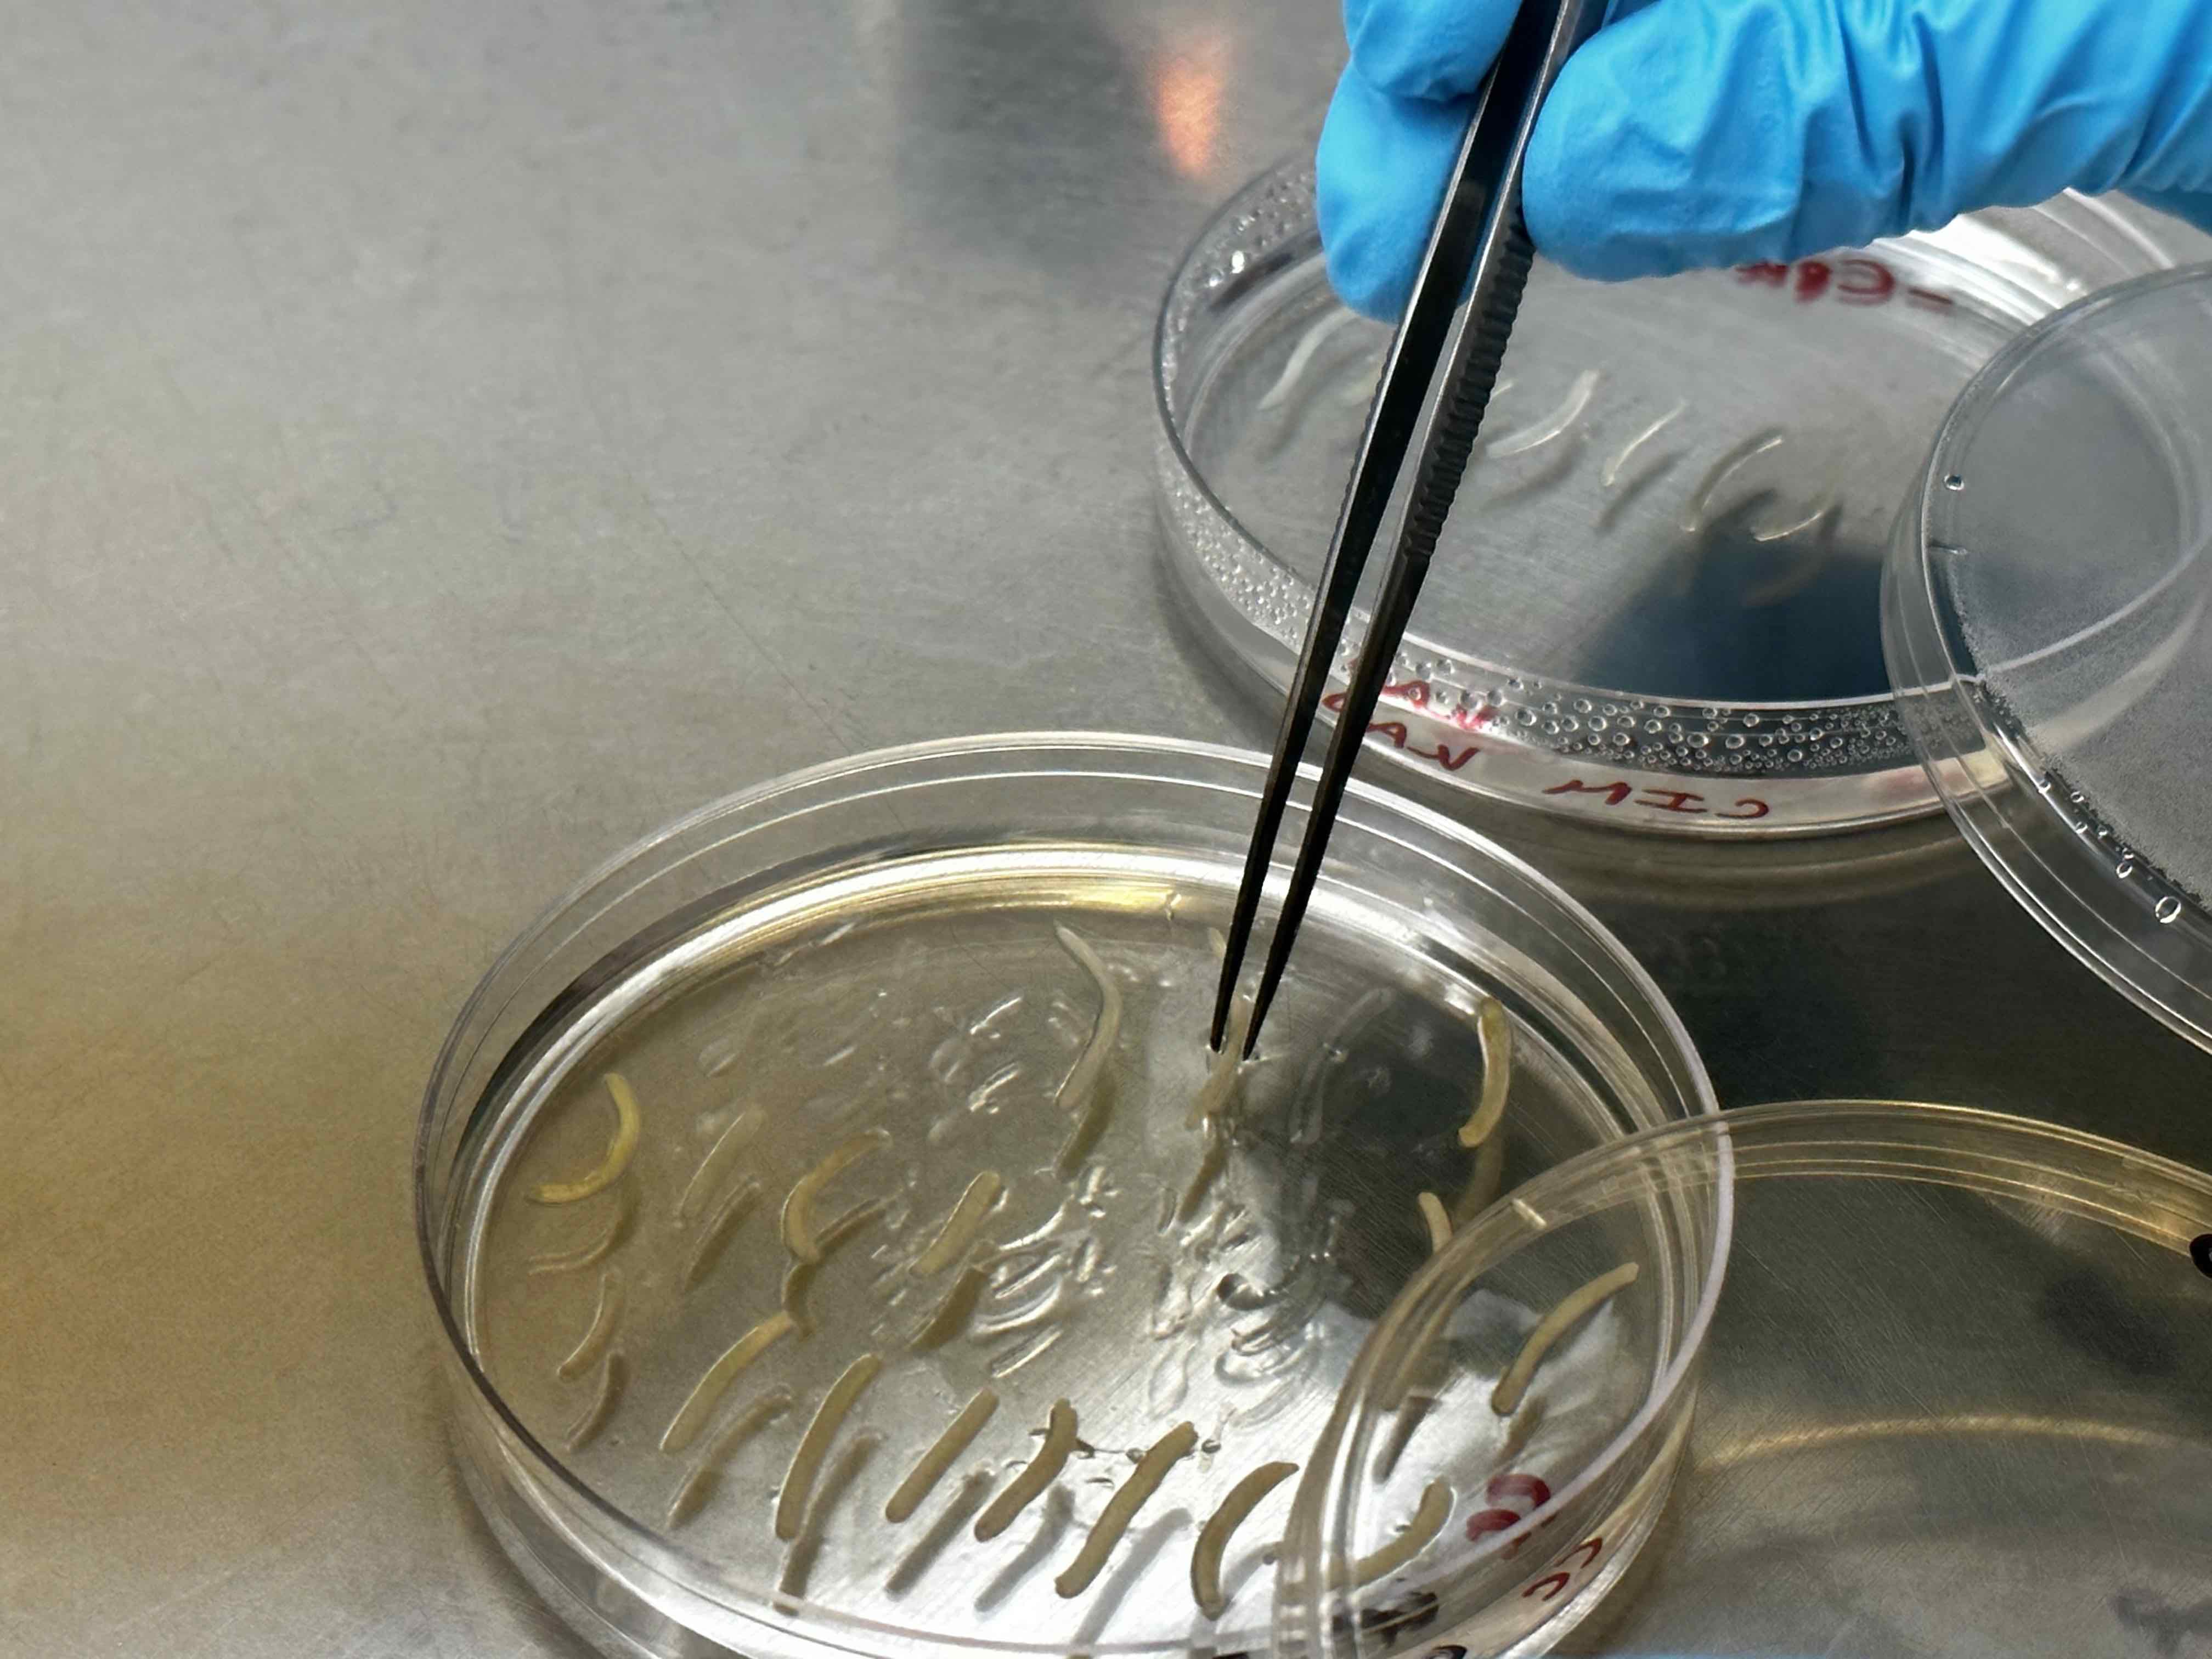
Use tweezers to take the hypocotyls from CC media in the deeper plate with infection media. Generally, 4-5 plates of hypocotyls for each 50 mL deeper plate.
Wait for 30 minutes and occasionally (every five minutes) swirl the plate to ensure contact. After that, place infected hypocotyls on fresh CC plates (same as Step 3) for 2 days in a growth chamber.
5. Hypocotyl callus induction (4-6 weeks)
Prepare callus induction media (CIM) media.
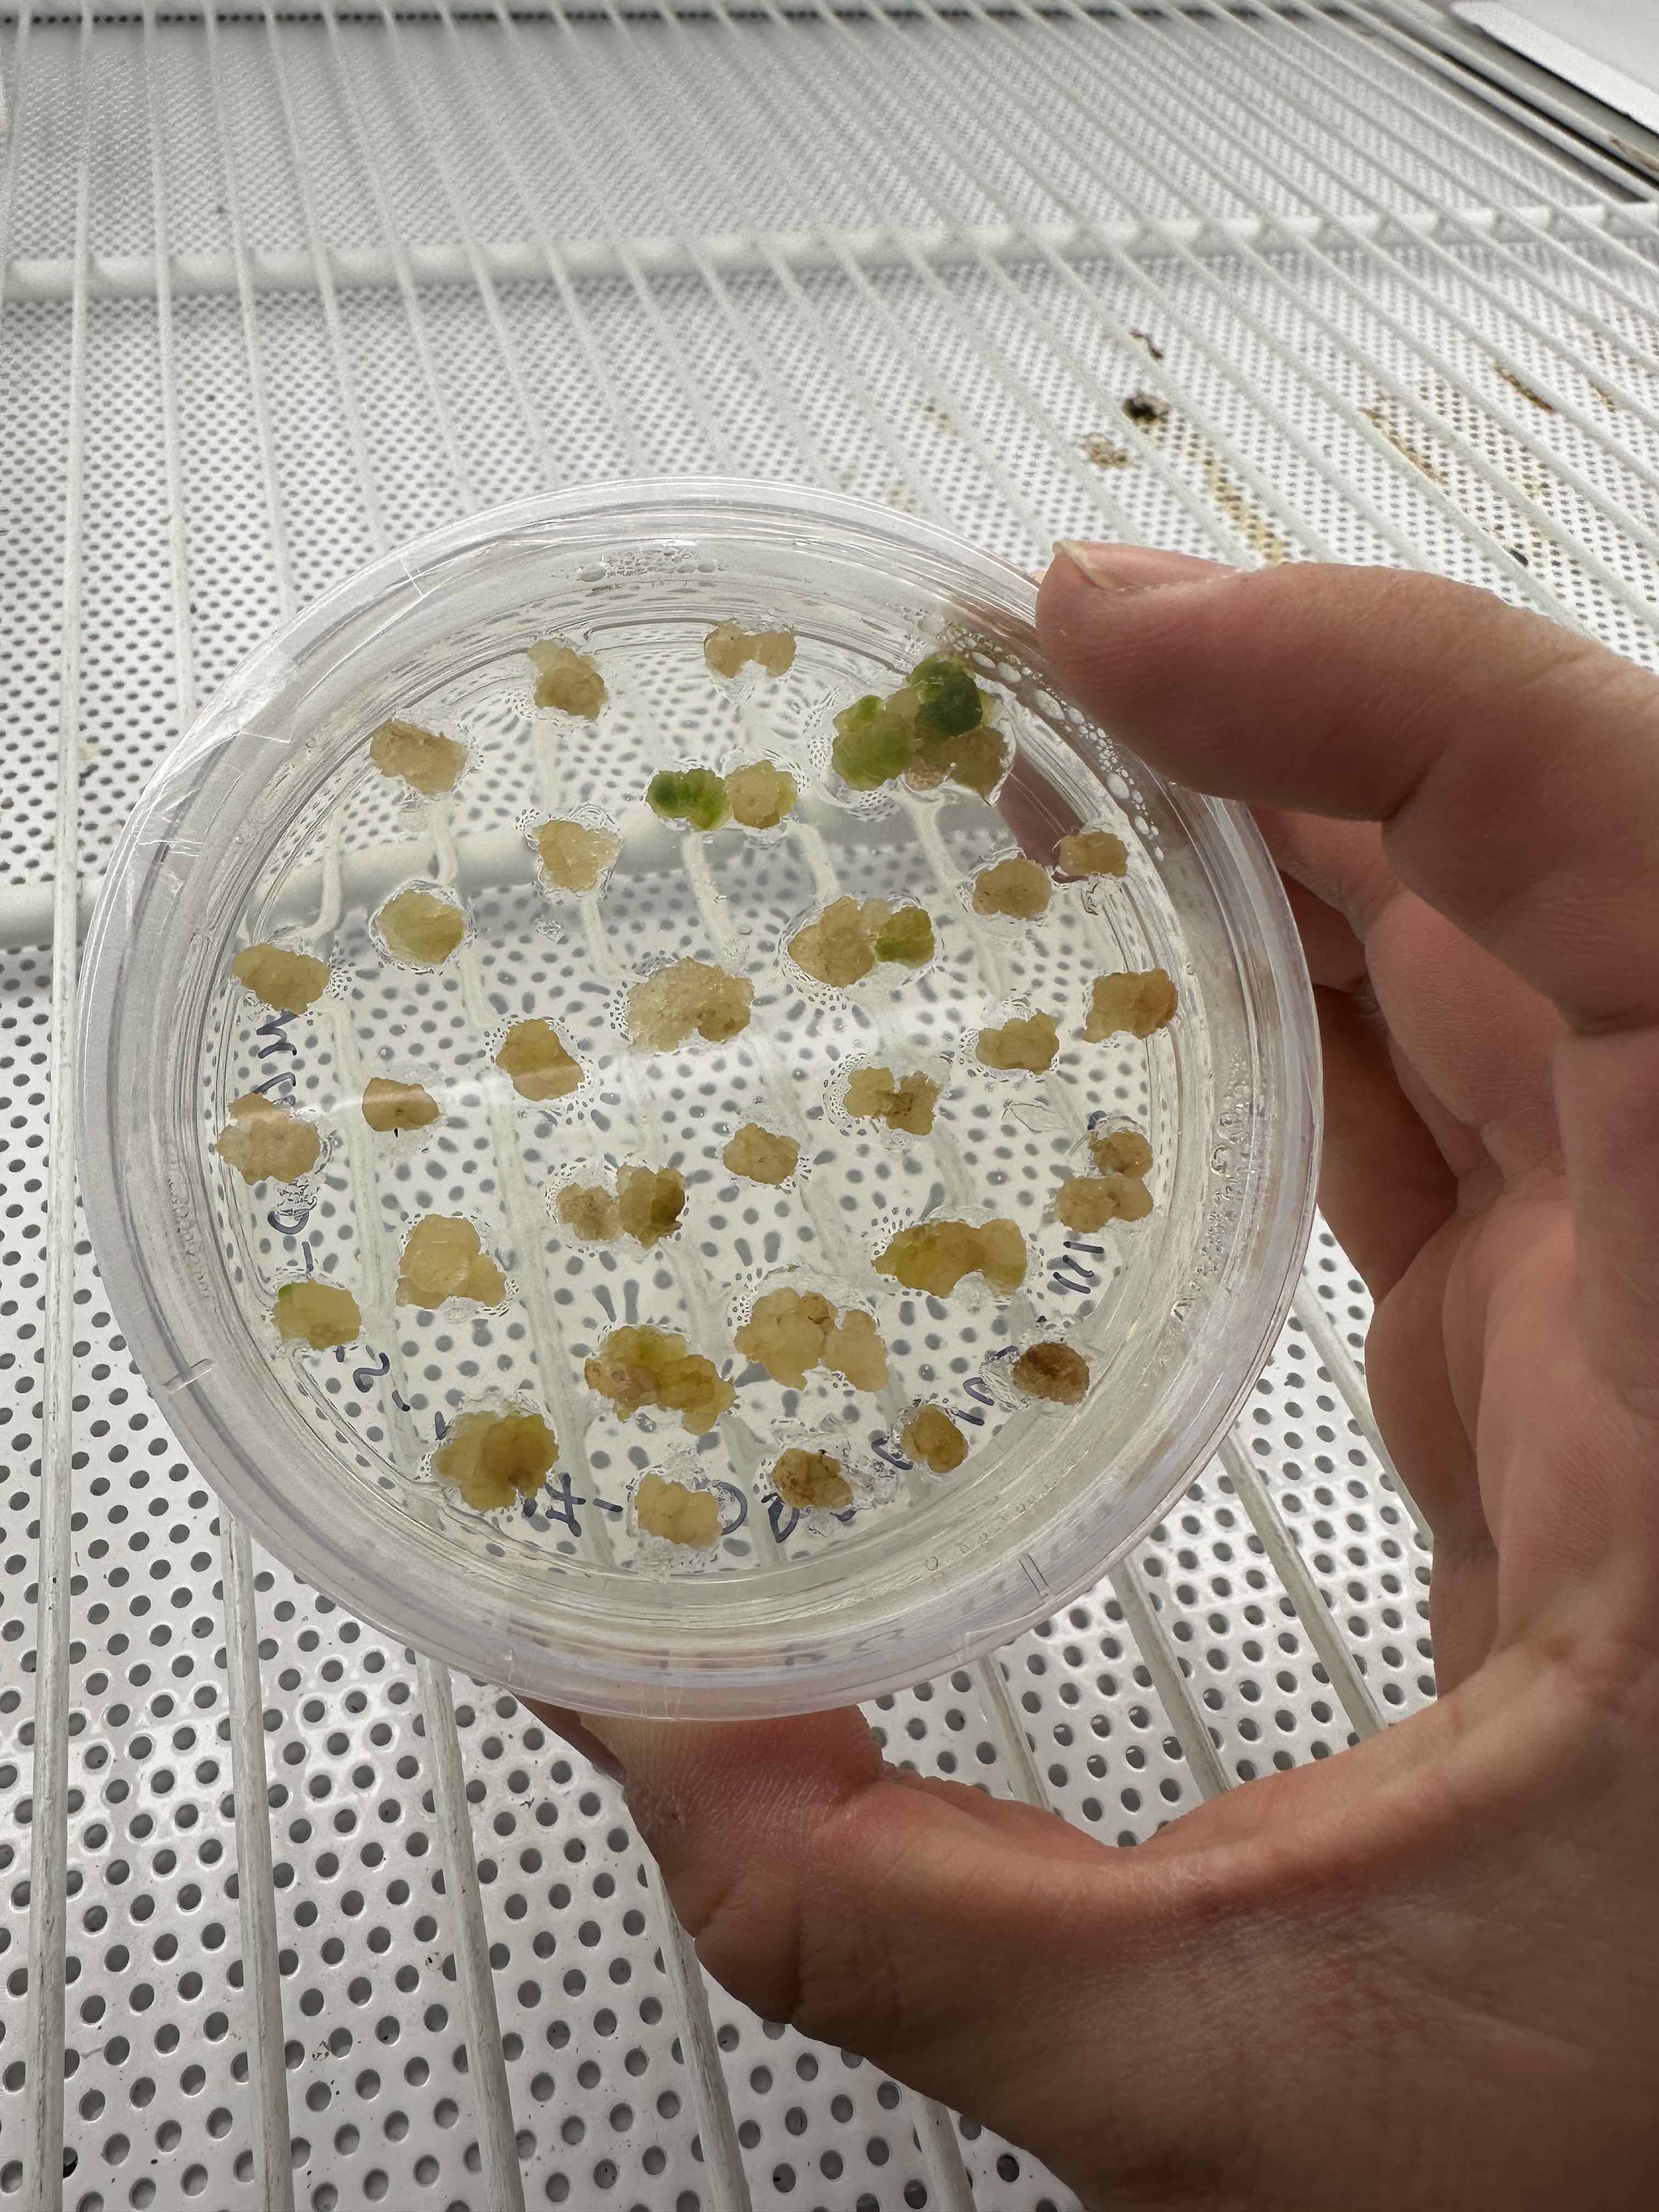
Transfer the infected hypocotyl segments from CC media to CIM plates (~ 20 segments per plate). Need 4-6 weeks before sufficient growth and greening are reached for transfer to shoot induction media. During this time, we should monitor plates for contamination and transfer them onto fresh CIM plates every two weeks.
6. Shoot induction (6 weeks)
Prepare shoot induction media (SIM) in deeper plates.
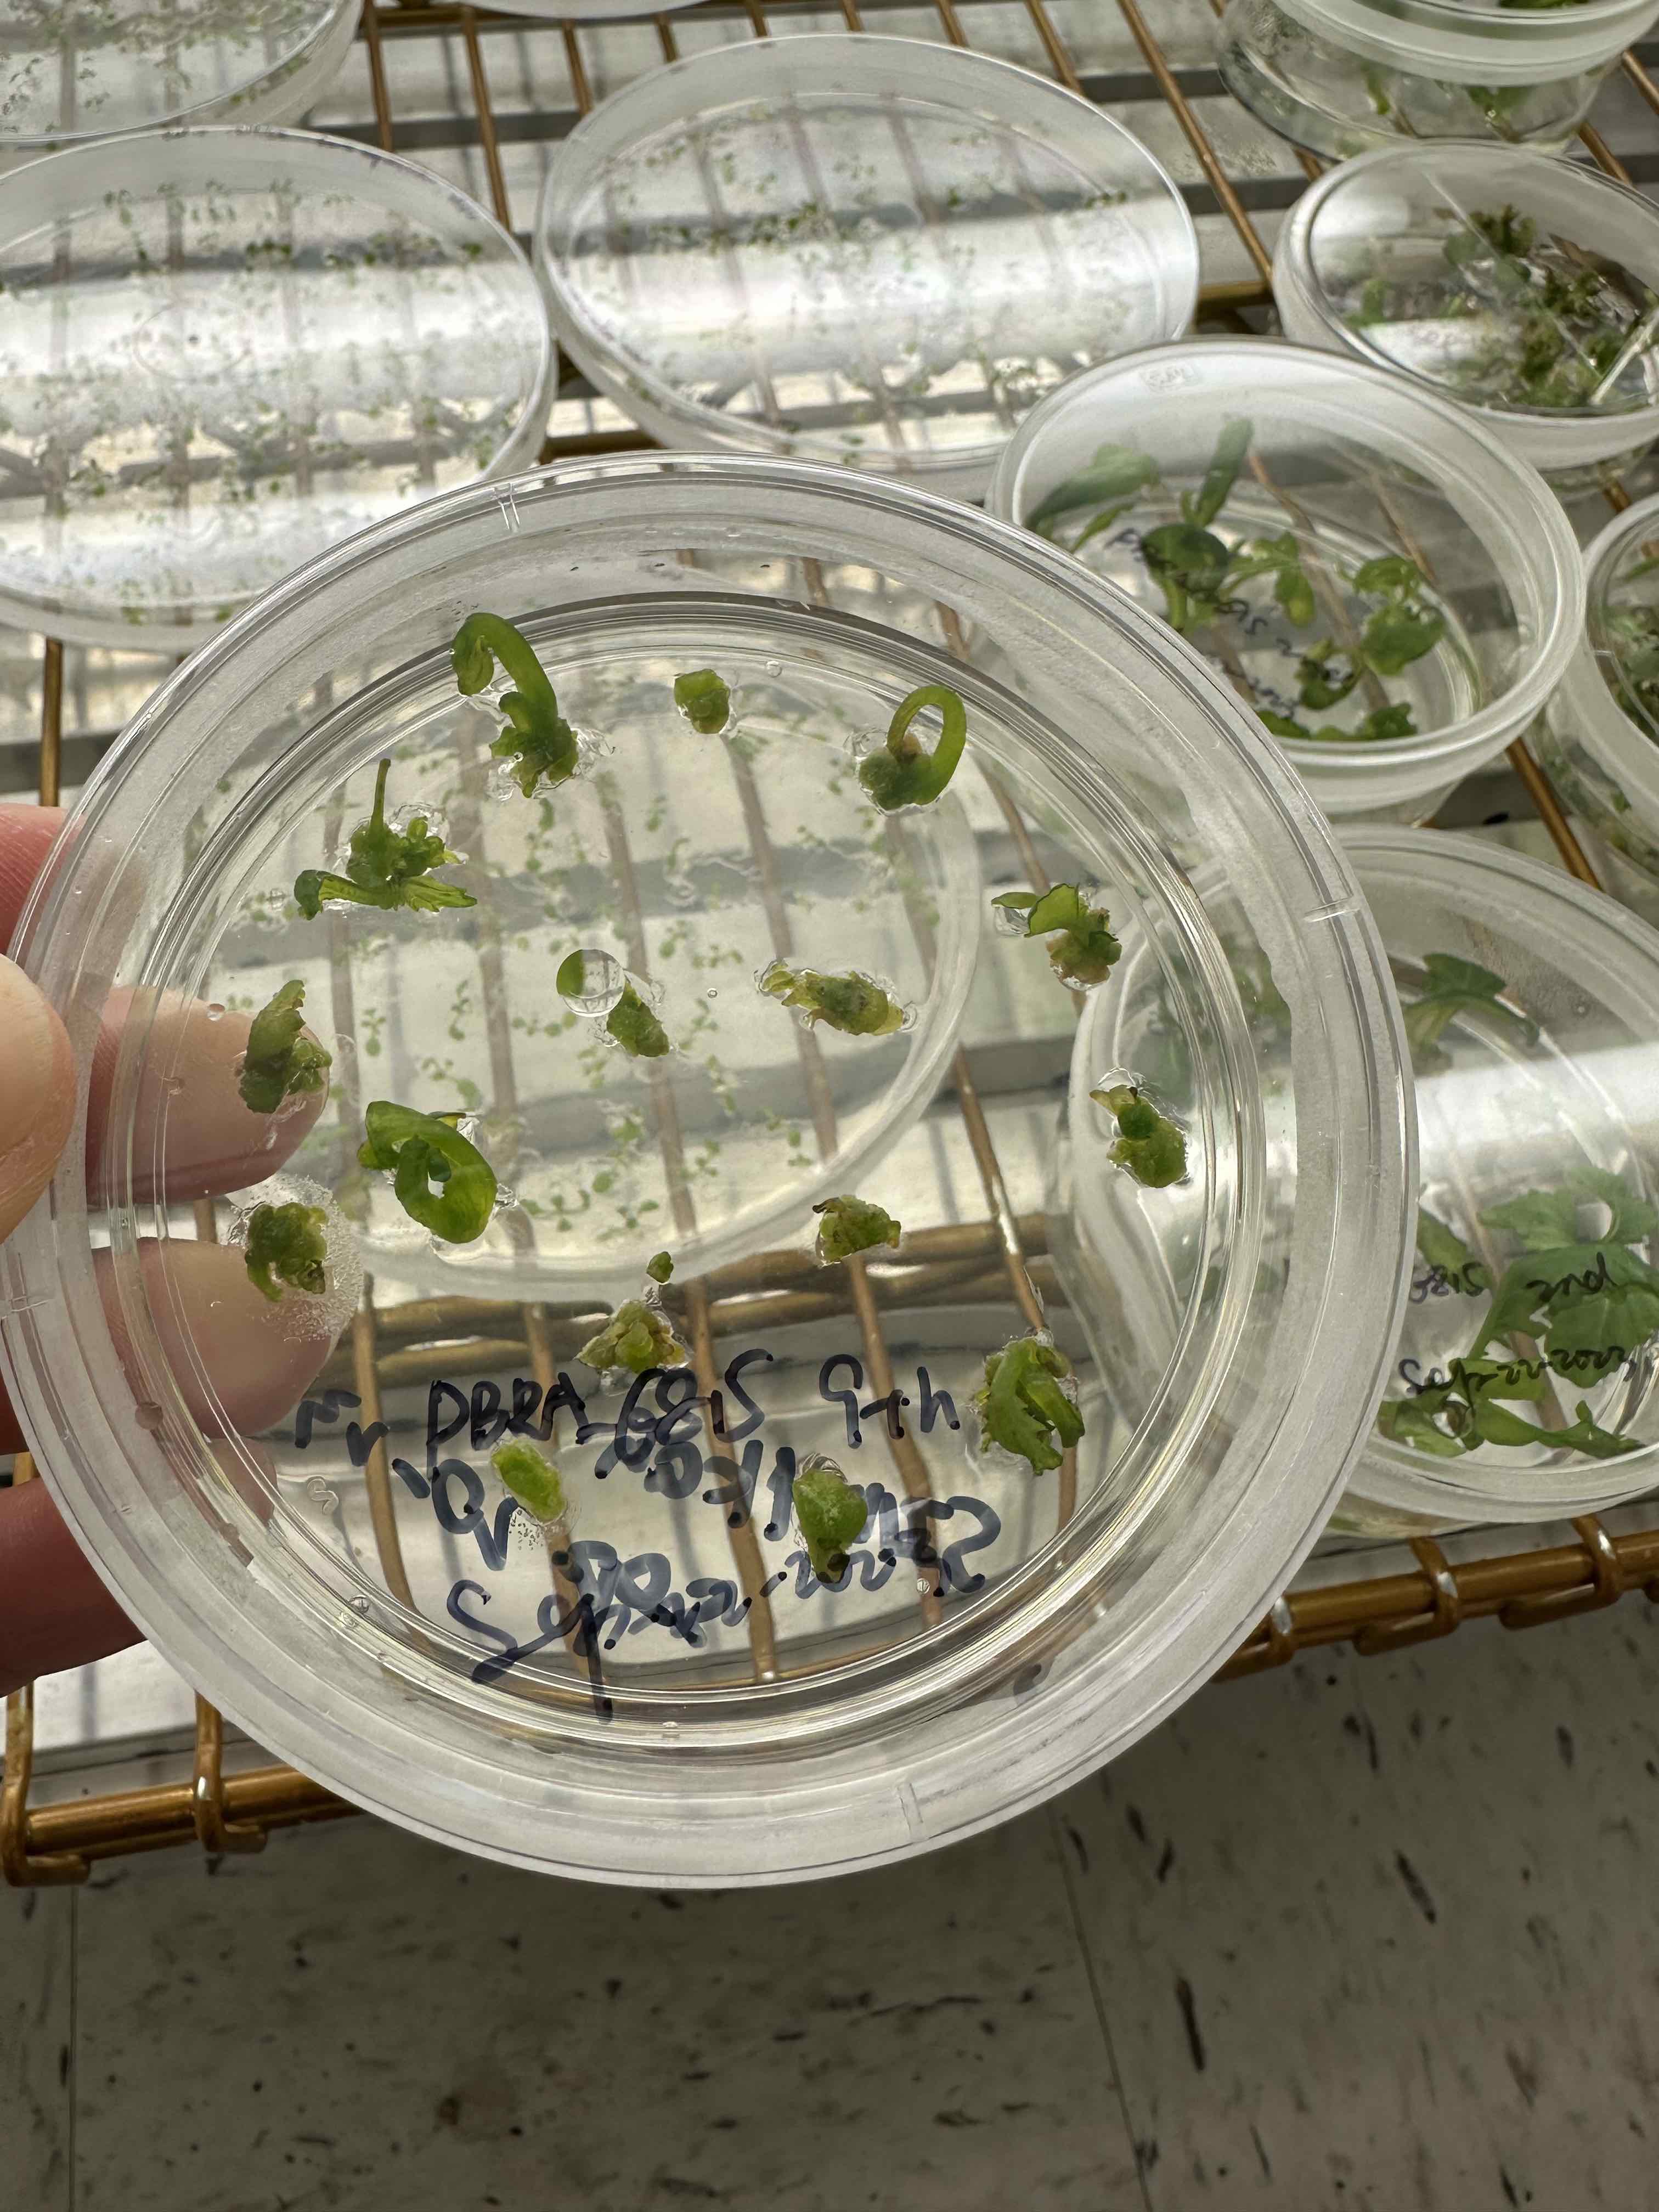
Cut greening calli from hypocotyl segments and transfer to SIM plates. Remove any vitrified or browning tissue from the outside of the calli. Grow on SIM media until identifiable leaves or shoot tips are present (~6 weeks). During this time, we should monitor plates for contamination and transfer them onto fresh SIM plates every two weeks.
7. Shoot growth (2-4 weeks)
Prepare shoot growth media (SGM) in deeper plates.
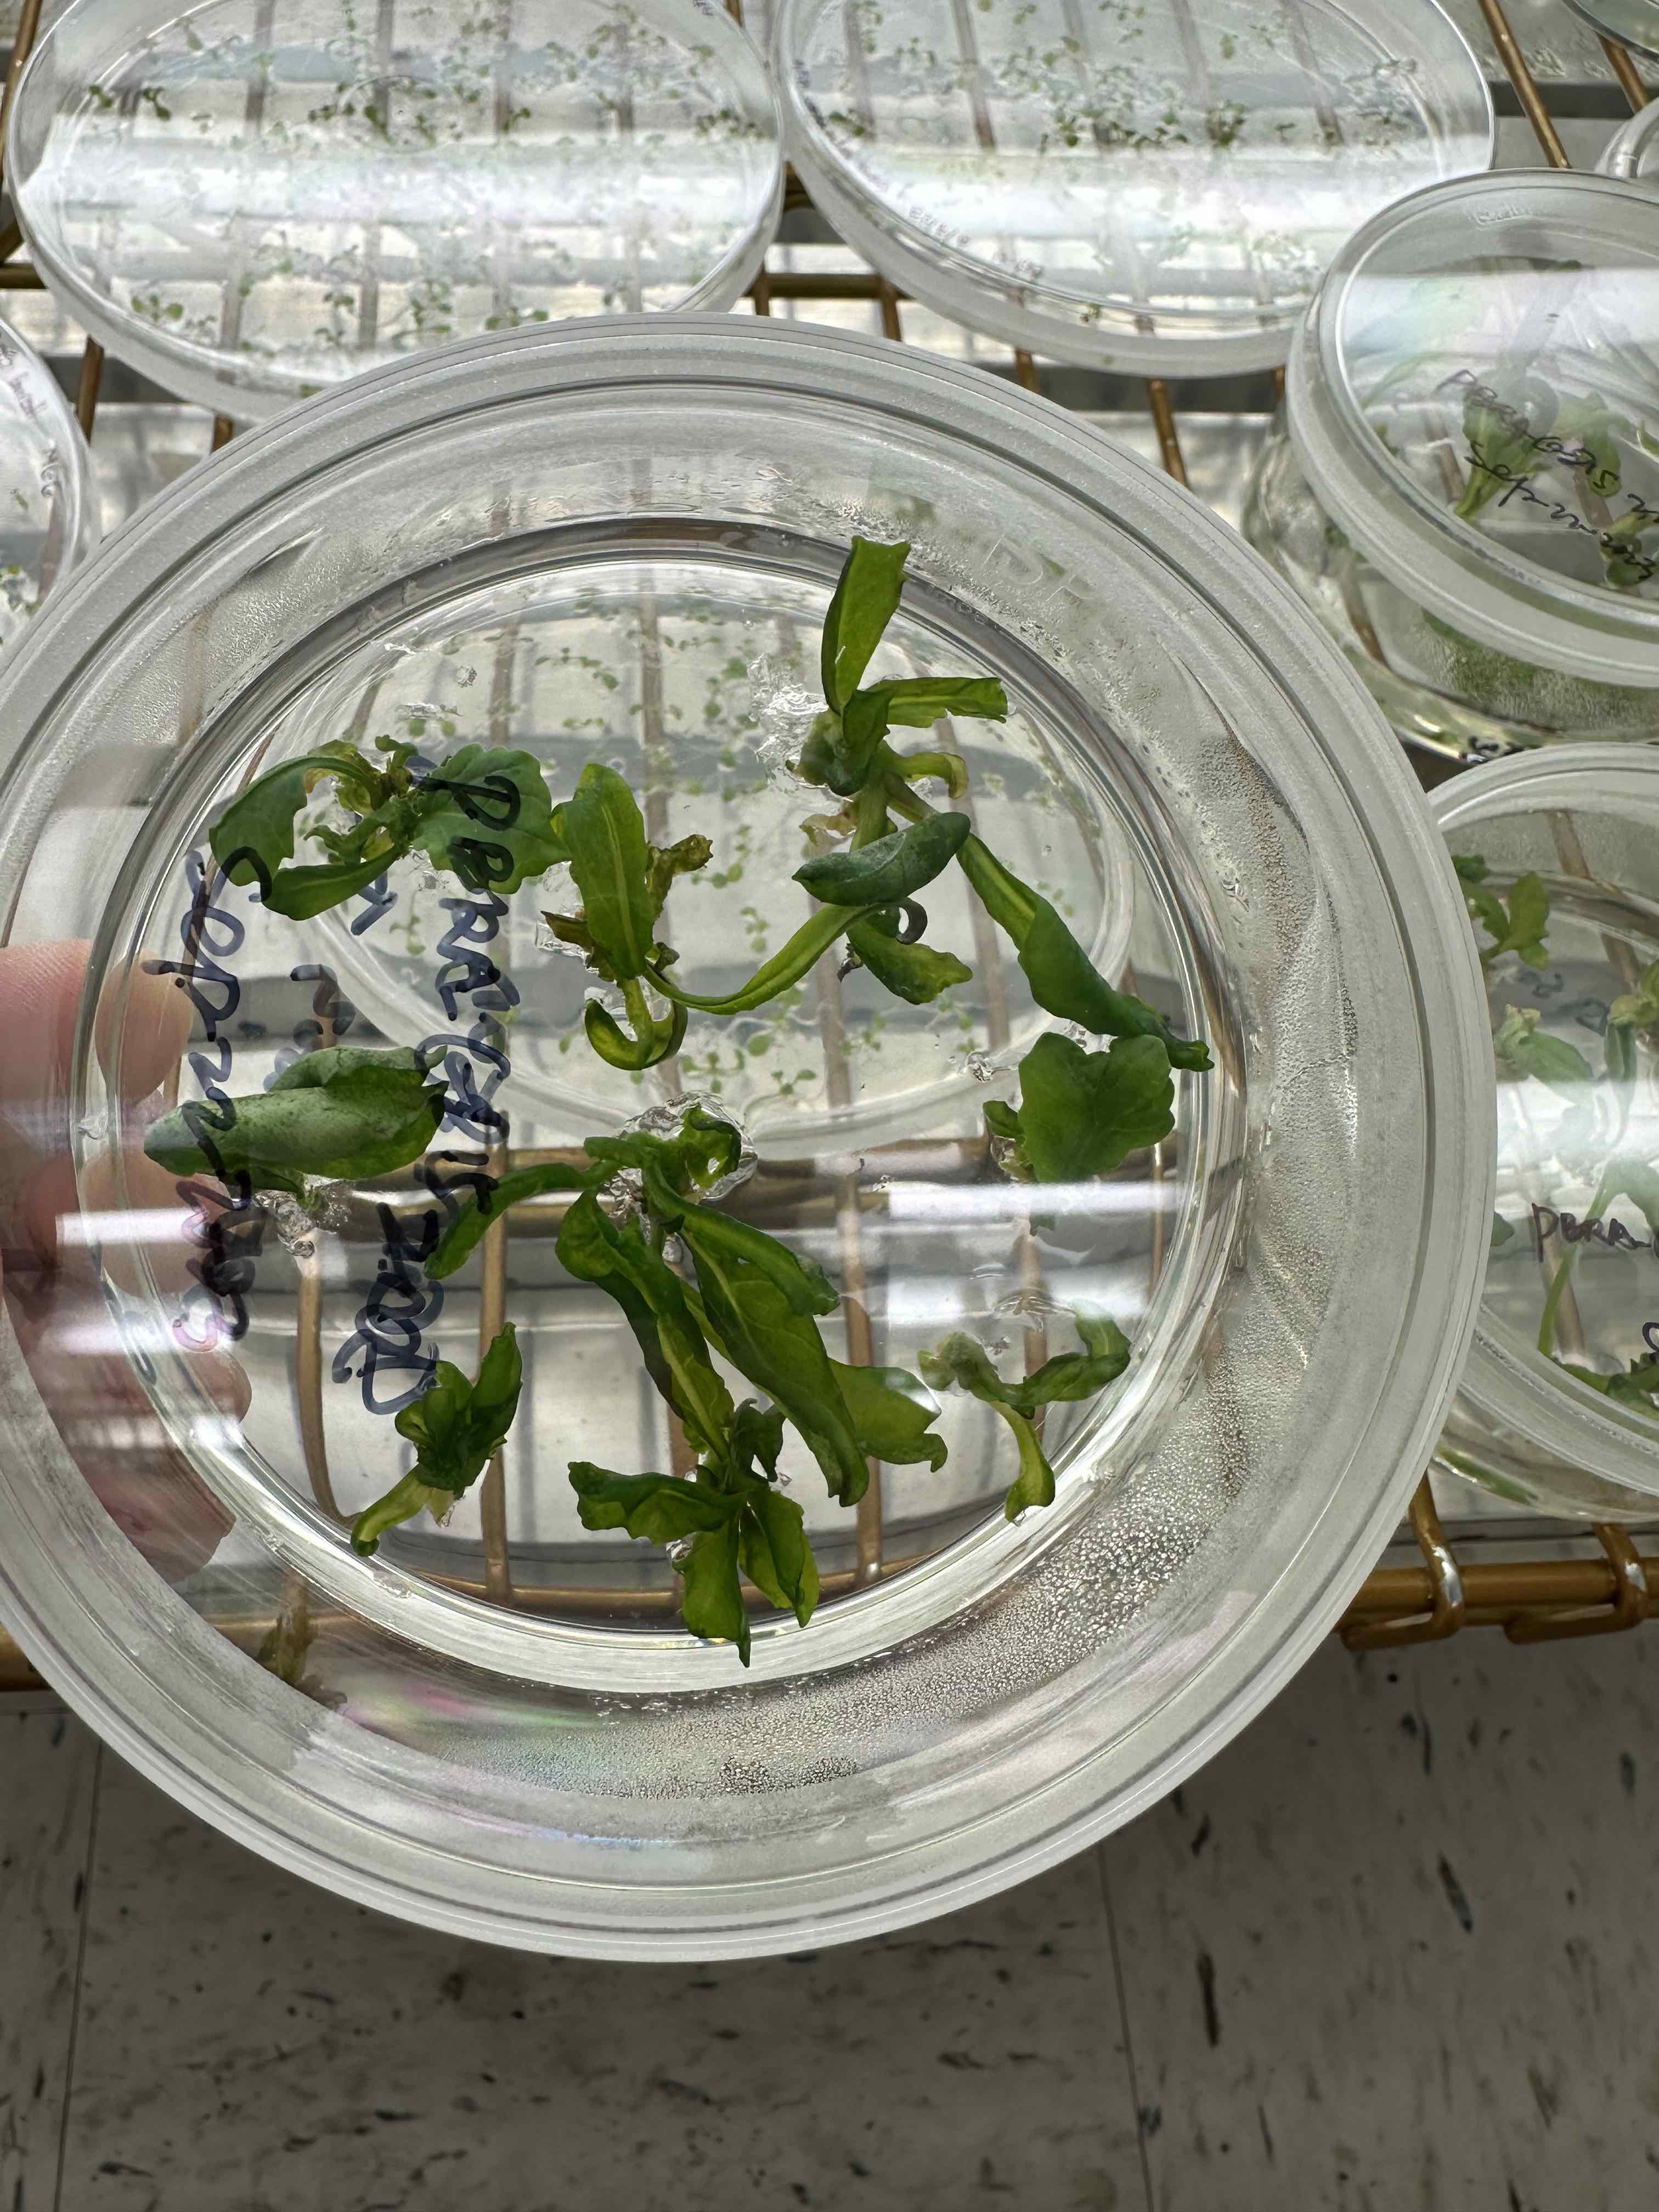
Section out new shoot tips and leaves with a small portion of the callus and transfer them to SGM for 2-4 weeks. Remove all browning tissue and trim excess basal callus. Waiting for the plantlets to expand leaves.
Transfer the callus to the fresh SIM plates for continued shoot induction.
8. Root growth
Prepare root growth media (RGM) in magenta boxes.
Plantlets with expanded leaves can be transferred to RGM, and trim the base of the shoot to allow for sufficient interaction with the media. Grow plantlets on RGM until several roots can be seen (longer than 2 cm).
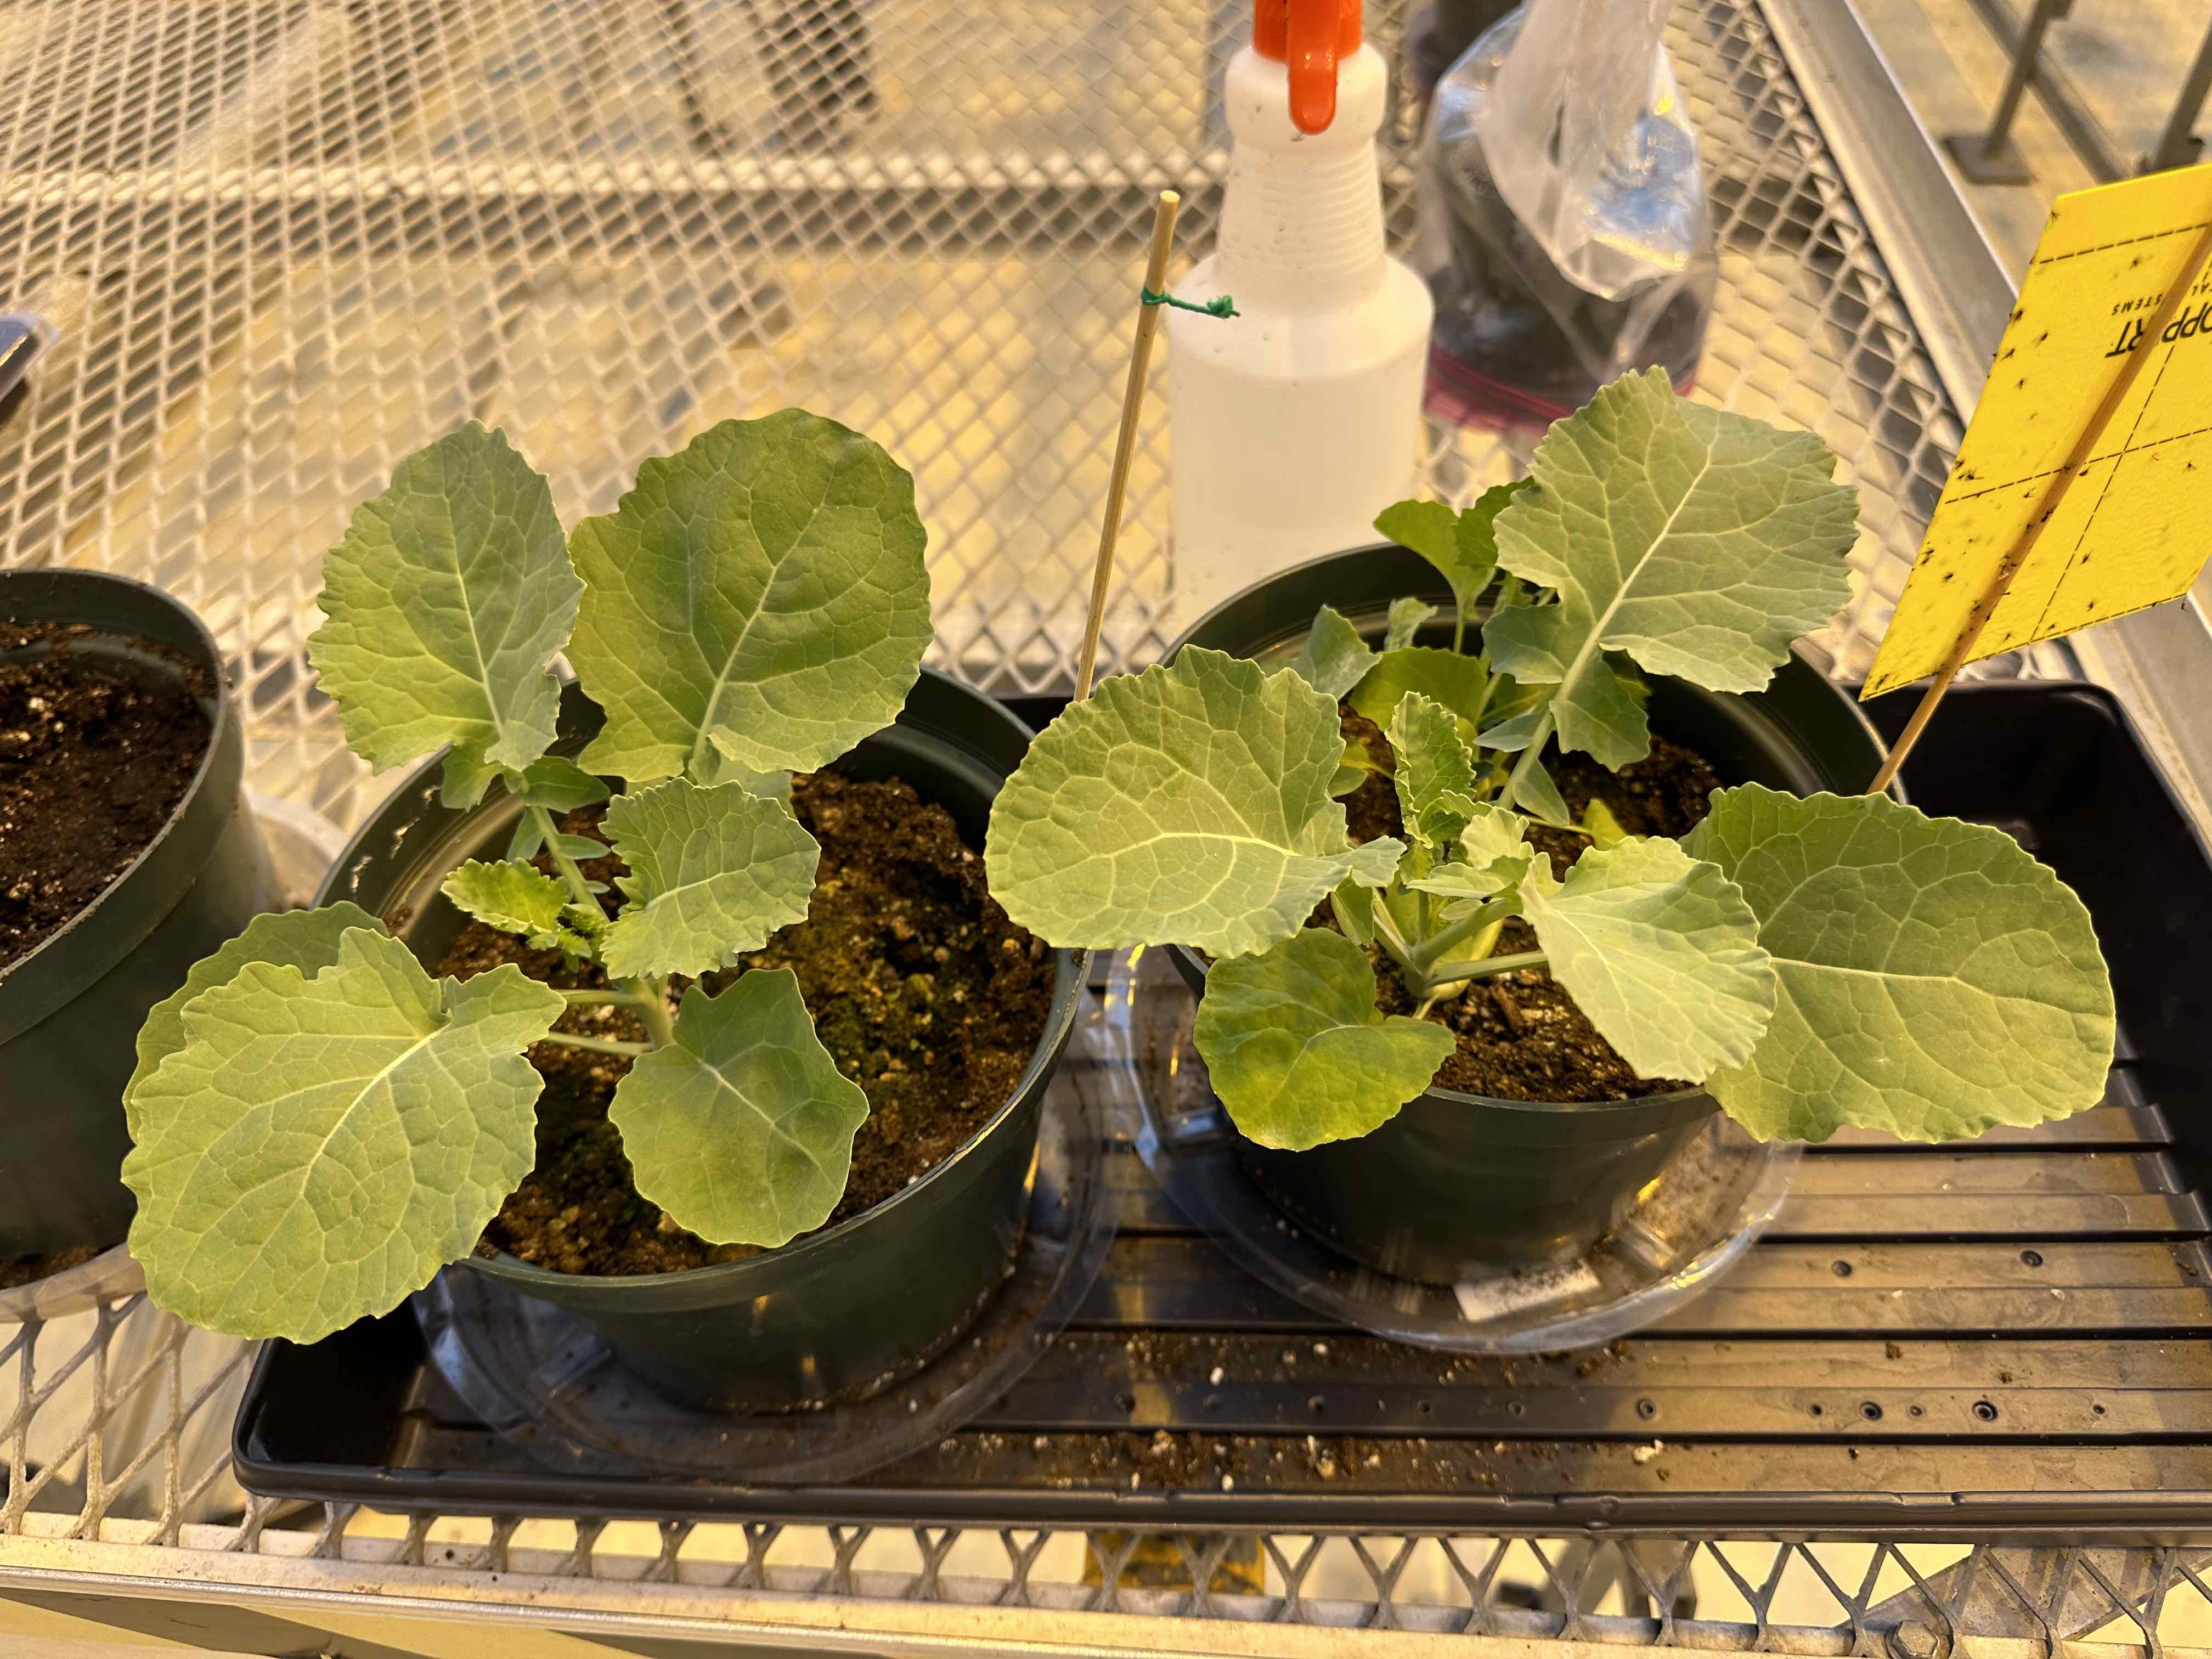
9. Grow in the soil (5-7 weeks)
Rooted plantlets can be transferred to soil and kept in high humidity for 5-7 days (keep the pot in a large Ziplog bag, partially closed, keep a stake/skewer in the pot to keep the bag upright).
Tips
- Add the right antibiotics based on what construct will use.
- Store the plant hormone and antibiotic stocks in right places and label them well.
- Add plant hormones after autoclaving and when media is 60-70 °C to avoid degradation.
- It would be better to use 3M tape during the shoot growth and root growth periods.